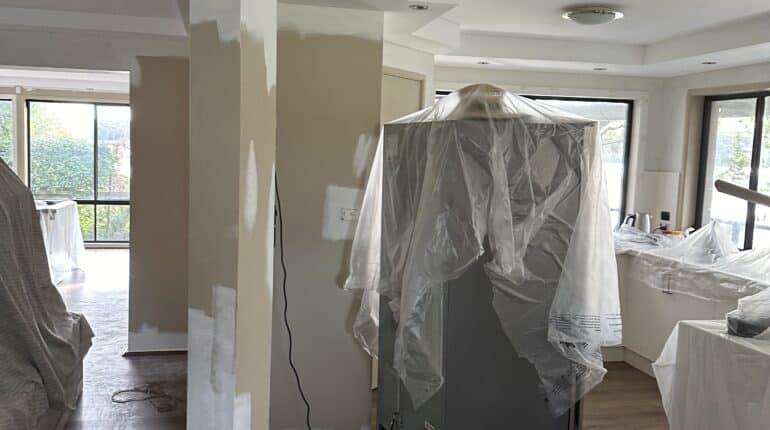
Prep work is the biggest difference between a paint job that lasts two years and one that lasts ten or more. It’s also the easiest thing for a quote to leave out, because it doesn’t show up in the finished photos and it’s the first thing cut when a price needs to come down.
Cleaning, patching, sanding, treating mould, and priming all happen before a drop of topcoat goes on, and each one solves a problem that paint on its own can’t fix. Skip any of them and the paint might still look fine at handover, but it won’t stay that way.
Why Prep Gets Skipped
Prep work is slow and invisible once the job is done. A painter who spends two days prepping a surface properly and a painter who spends half a day and goes straight to topcoat can produce a finish that looks near-identical the week it’s completed. The difference only shows up later, in the form of paint that peels and flakes well before it should.
One of the main reasons a quote for the same job looks a lot cheaper is because they’ve left off the prep. As we cover in our guide to what a painting quote should include, prep is one of the line items most likely to be glossed over as “surface preparation” without any detail on what that actually involves.
What Prep Work Includes
Cleaning
Paint is designed to bond to a clean surface, and any contamination sitting between the wall and the coating becomes a weak point the paint can’t bond through, no matter how good the product is. That means every surface being painted needs to be free of dust, grease, and in coastal areas, salt build-up.
On exterior walls around Newcastle and Lake Macquarie, salt residue is something we have to think about often. If it’s not washed off before painting, salt residue interferes with adhesion and shows up as early flaking, sometimes within the first year or two.
Repairing and Patching
Paint isn’t a filler. Cracks, holes, and damaged sections of plaster or render need to be repaired before painting. If they’re not, the paint will just sit over a crack or a hole and follow the shape of the damage underneath rather than disguising it. In most cases, you’ll see the same cracks show through a new paint film within a few months.
Proper patching means using the right filler and sanding it back flush before any coat goes on. Rushing this step is one of the more common reasons a paint job that looks acceptable at handover starts showing every flaw within a year.
Sanding
Sanding does two jobs: it smooths out imperfections, and it gives the paint something to grip onto. A glossy or previously painted surface is often too smooth for a new coat to key into properly, meaning paint can peel away in sheets rather than wearing down gradually over time.
This matters just as much on timber and previously painted surfaces as it does on new render. A quick scuff sand before priming is what allows every layer that follows to actually adhere the way it’s meant to.
Mould Treatment
Mould can’t simply be painted over. If it’s present on a surface and isn’t treated first, it’ll keep growing underneath the new paint film and bleed through, usually within a matter of months. Painting over mould without addressing what’s causing it just hides the problem temporarily and lets it damage the paint from beneath.
Proper mould treatment means killing the spores, cleaning the affected area thoroughly, and addressing the underlying cause before painting begins.
Priming
Primer is an incredibly important step at the start of any job. It seals porous surfaces, blocks stains from bleeding through, and gives the topcoat a consistent surface to bond to. Bare plaster, raw timber, and stained ceilings all behave differently without it. Porous surfaces absorb topcoat unevenly, timber takes on paint inconsistently, and stains bleed straight through regardless of how many coats of topcoat go over them.
Skipping primer to save time or cost usually means the topcoat has to work harder to compensate, and it still won’t fully solve a problem primer is specifically designed for. The result is a finish that looks patchy sooner than it should, and often needs more topcoats than the job was quoted for in the first place.
What Skipping Prep Actually Costs You
You might not be able to tell whether the right prep work has been done from a “before and after” photo. What you will notice, over the following one to three years, is peeling paint, early fading, and finishes that need touching up far sooner than they should. A ten-year exterior finish and a two-year one can use the exact same paint. The difference is almost always in what happened before the paint went on.
It’s also why two quotes for the same job can look very different in price. The one that’s cheaper is often cheaper because prep has been reduced or removed, not because the painter has found a way to do the same work for less.
Prep Isn’t Where to Cut Costs
If you’re in Newcastle or Lake Macquarie and want a quote that spells out exactly what prep work is included and why, get in touch with the team at George.Painting.