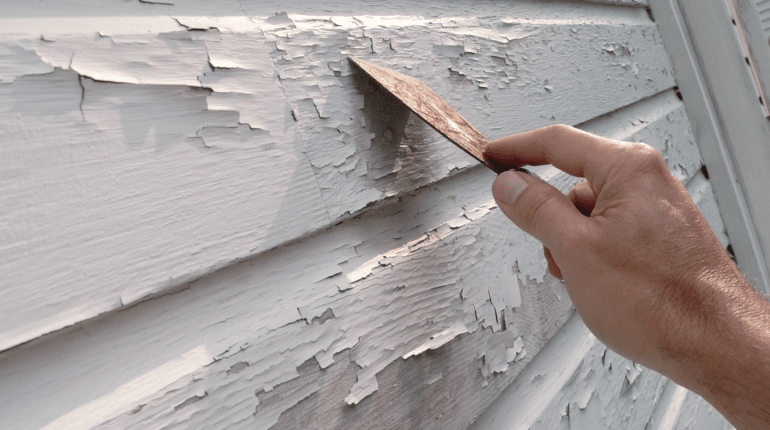
You can’t paint straight over peeling or flaking paint and expect it to hold. Getting a peeling surface ready for repainting means scraping back the loose material, sanding the edges, priming properly with the correct primer, patching where needed and spot-priming the patches before any topcoat goes on.
Most of that is straightforward work, but professional help makes it easier to identify what failed in the first place and prevent it from happening again.
Why Peeling Paint Can’t Just Be Painted Over
Flaking or peeling usually happens when a paint film loses its grip on the surface underneath it. Most of the time, that’s because moisture gets behind the coating, or the surface wasn’t properly prepared when it was painted. If you paint over that failure, it’s bound to lift again pretty quickly, sometimes faster than the first time and in some cases it will lift off and stick to the roller when applying the topcoat due to the topcoat softening the existing paint a little.
Around Newcastle and Lake Macquarie, coastal weathering is usually why moisture gets behind the coating in the first place. Salt air puts more strain on an exterior paint film than inland conditions do, so a house near the coast will often show peeling exterior paint sooner if the wrong coating system or not enough prep went into it the first time.
A residential painter who works on coastal homes regularly can usually tell you what’s going on with your peeling paint just by looking at the failure pattern, which isn’t always obvious to someone tackling it for the first time.
Step 1: Scrape Back All Loose and Failing Paint
First things first, every section that’s lifting, flaking, or no longer firmly bonded to the surface needs to come off. If you just paint over the edges of a peeling section, you’re giving the new coat an unstable edge from the start. Soon enough, the problem will turn up in the same spot.
You should go beyond the paint that’s visibly lifting too, since paint at the edge of a peeling section is likely also loosened, even if it looks intact. Leaving it alone undermines all the prep that follows.
Step 2: Sand the Edges and Surrounding Surface
Once the loose paint is off, sand back the transition between the bare surface and the surrounding intact paint so there’s no hard edge or ridge for the new coat to sit over (flatten or feather the edges). Also give the surface a slight key, which helps the new paint grip instead of sitting on top of too smooth or glossy substrate to bond to.
Rushing the sanding process can leave an uneven surface that becomes visible once the new paint dries, especially in direct light. A word of caution: sanding a weatherboard house that hasn’t been painted for 20 or 30 years requires professional-grade tools. Even with the best tools and techniques, it usually takes twice as long as painting and may still require patchwork to finish the prep.
Step 3: Identify Why the Paint Failed
Scraping and sanding fix the visible damage, but it won’t tell you why it happened in the first place. Before repainting, figure out whether it was a leak, poor drainage, rising damp, or a surface that wasn’t properly prepared or primed last time.
This is the step that’s hard to get right without having seen a lot of failed paint jobs before. The visible peeling and the actual cause aren’t always in the same place, and guessing wrong here means the repaint fails the same way the last one did.
If you do a new coat over the same problem that killed the last coat, it’ll end up showing the same symptoms pretty quickly. We go into this more in our guide to what prep work actually includes. It’s the step that deals with problems paint on its own can’t fix, and moisture or substrate issues are top of that list.
Step 4: Patch and Repair Damaged Sections
Any part of the substrate that’s actually been damaged by the failure — swollen or cracked timber, crumbling render, plaster that’s come away from the wall — needs to be patched and repaired before painting. Paint doesn’t disguise damage like that. It follows the shape of whatever’s underneath, and any movement in an unrepaired section usually shows through the new coat within months.
If the original failure came from ongoing moisture, a leak or trapped dampness, mould often turns up alongside it. You need to treat that properly before you go anywhere near it with paint, and we cover the process in our guide to treating mould before painting. Paint over active mould and you get the same repeat failure as painting over peeling paint that was never properly addressed.
Step 5: Prime the Prepared Surface
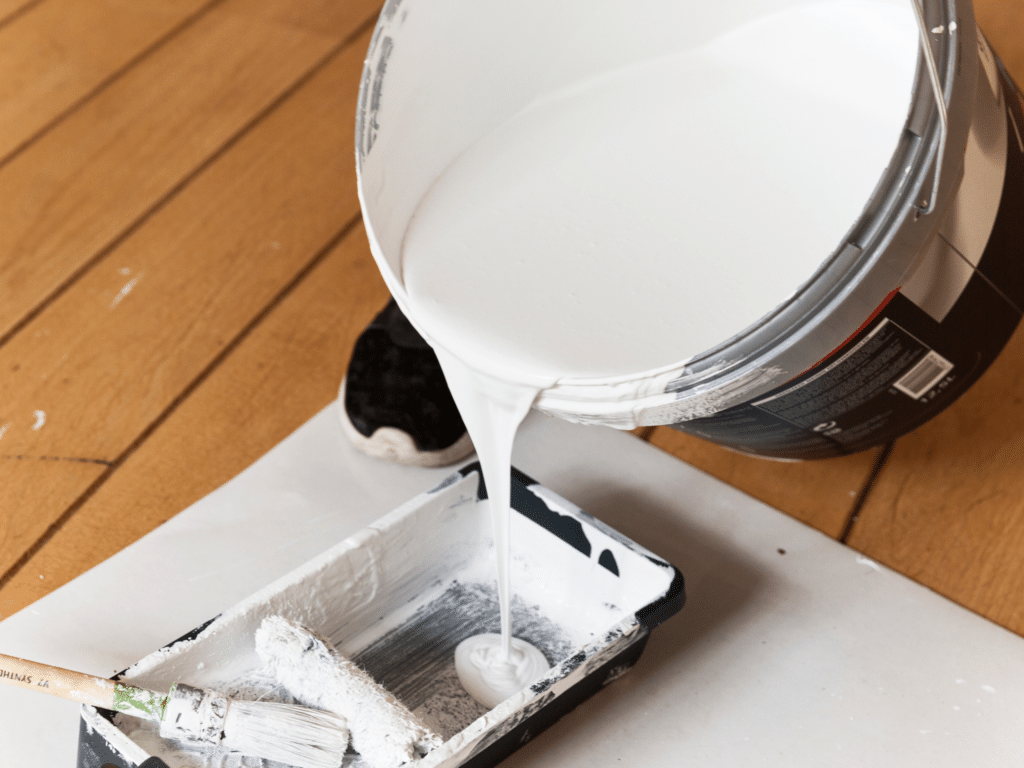
A primer suited to the substrate and the cause of the original failure seals the surface and gives the topcoat a stable, even base to grip onto. This is even more important on bare or repaired sections, where the surface underneath is different to the surrounding painted area.
If you’re not sure whether to use a stain-blocking, oil-based primer, or masonry-specific primer, it’s worth getting some professional advice. That’s the kind of product knowledge we’ve built up over the years working on hundreds of homes around Newcastle.
And if you skip this step on a surface that’s already failed once, you’ve set up one of the more common reasons a repaint over peeling paint doesn’t last.
Common Issues We See
Bathroom ceilings that peel or develop mould only above the shower, with no issues elsewhere, usually point to a ventilation problem. The usual fix is to install a new exhaust fan and make a habit of opening the windows after showering.
Living area ceilings that peel away in large sheets commonly have a moisture problem that has built up in the roof space over a long time. This can happen without an active leak or high moisture readings in the ceiling sheet. We usually strip the ceiling back to bare and start again with two coats of stain blocker. To help prevent the problem, have the roof checked and install a roof ventilation system.
Weatherboard houses: If the paint has bubbled beneath most boards (at the overlaps), dried very crisp, and you notice dust underneath when scraping it, this indicates poor preparation. The surface needs to be properly sanded and primed, usually with an oil-based primer, then gapped before painting.
Sort the Cause Before You Reach for a Brush
If you’ve got peeling or flaking paint on your home in Newcastle or Lake Macquarie and want to know what’s causing it before anyone reaches for a brush, contact the team at George.Painting.