

You can’t paint straight over peeling or flaking paint and expect it to hold. Whatever’s causing the existing paint to lift is still underneath a new coat, and a fresh layer of paint won’t fix it. Getting a peeling surface ready for repainting means scraping back the loose material, sanding the edges, patching where needed, and priming properly before any topcoat goes on.
Most of that is straightforward work, but having professional help makes it a lot easier to find out what failed in the first place and stop it from happening again.
Why Peeling Paint Can’t Just Be Painted Over
Flaking or peeling usually happens when a paint film loses its grip on the surface underneath it. Most of the time, that’s because moisture gets behind the coating, or the surface wasn’t properly prepared the last time it was painted. If you paint over that failure, it’s bound to lift again pretty quickly, sometimes faster than the first time.
Around Newcastle and Lake Macquarie, coastal weathering is usually why moisture gets behind the coating in the first place. Salt air puts more strain on an exterior paint film than inland conditions do, so a house near the coast will often show peeling sooner if the wrong product or not enough prep went into it the first time.
A residential painter who works on coastal homes regularly can usually tell you what’s going on with your peeling paint just by looking at the failure pattern, which isn’t always obvious to someone tackling it for the first time.
Step 1: Scrape Back All Loose and Failing Paint
First things first, every section that’s lifting, flaking, or no longer firmly bonded to the surface needs to come off. If you just paint over the edges of a peeling section, you’re giving the new coat an unstable edge from the start. Soon enough, the problem will turn up in the same spot.
You should go beyond the paint that’s visibly lifting too, since paint at the edge of a peeling section is likely also loosened, even if it looks intact. Leaving it alone undermines all the prep that follows.
Step 2: Sand the Edges and Surrounding Surface
Once the loose paint is off, sand back the transition between the bare surface and the surrounding intact paint so there’s no hard edge or ridge for the new coat to sit over. It also gives the surface a slight key, which helps the new paint grip instead of sitting on top of something too smooth or glossy to bond to.
Rushing through the sanding process will leave you with an uneven surface that’ll show once the new paint dries, particularly under direct light.
Step 3: Identify Why the Paint Failed
Scraping and sanding fix the visible damage, but it won’t tell you why it happened in the first place. Before repainting, figure out whether it was a leak, poor drainage, rising damp, or just a surface that wasn’t properly prepared or primed last time around.
This is the step that’s hard to get right without having seen a lot of failed paint jobs before. The visible peeling and the actual cause aren’t always in the same place, and guessing wrong here means the repaint fails the same way the last one did.
If you do a new coat over the same surface that killed the last coat, it’ll end up showing the same symptoms pretty quickly. We go into this more in our guide to what prep work actually includes. It’s the step that deals with problems paint on its own can’t fix, and moisture or substrate issues are top of that list.
Step 4: Patch and Repair Damaged Sections
Any part of the substrate that’s actually been damaged by the failure — swollen or cracked timber, crumbling render, plaster that’s come away from the wall — needs to be patched and repaired before painting. Paint doesn’t disguise damage like that. It follows the shape of whatever’s underneath, and any movement in an unrepaired section usually shows through the new coat within months.
If the original failure came from ongoing moisture, a persistent leak or trapped dampness, mould often turns up alongside it. You need to treat that properly before you go anywhere near it with paint, and we cover the process in our guide to treating mould before painting. Paint over active mould and you get the same repeat failure as painting over peeling paint that was never properly addressed.
Step 5: Prime the Prepared Surface
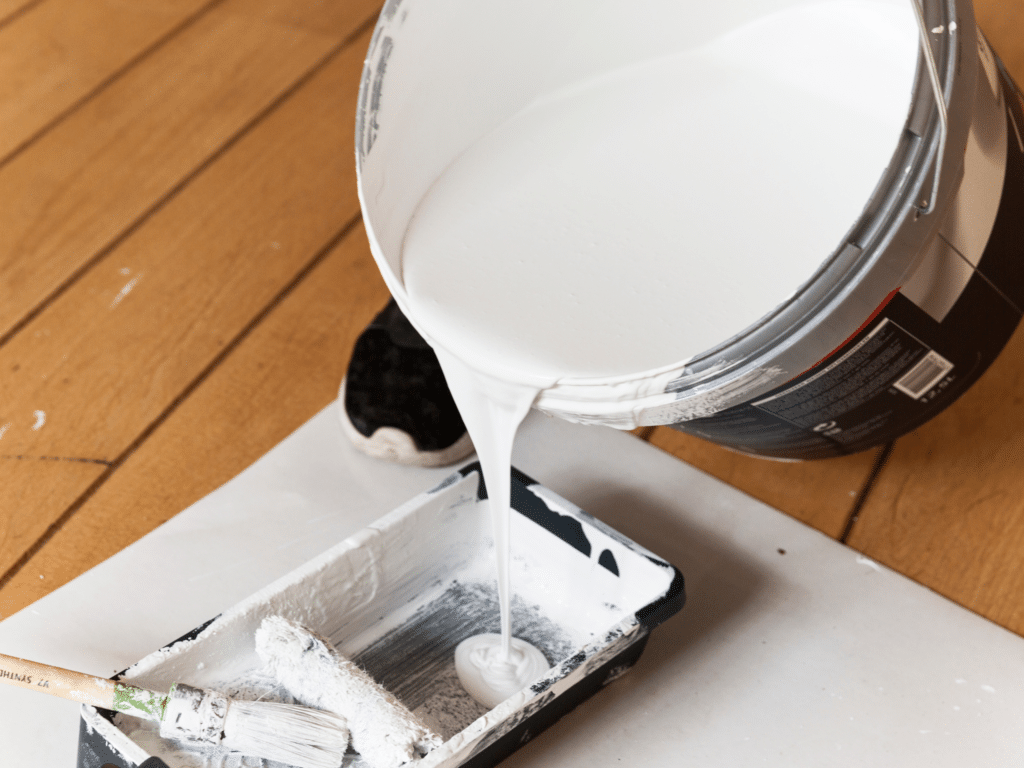
A primer suited to the substrate and the cause of the original failure seals the surface and gives the topcoat a stable, even base to grip onto. This is even more important on bare or repaired sections, where the surface underneath is different to the surrounding painted area.
If you’re not sure whether to use a stain-blocking, oil-based, or masonry-specific primer, it’s worth getting some professional advice. That’s the kind of product knowledge we’ve built up over the years working on hundreds of homes around Newcastle.
And if you skip this step on a surface that’s already failed once, you’ve set up one of the more common reasons a repaint over peeling paint doesn’t last.
What Happens If You Skip These Steps
If you paint straight over peeling or flaking paint without scraping, sanding, diagnosing, patching, and priming, you’re repeating whatever mistake caused the original failure.
The same section will usually start lifting again within a year, or sooner, if you haven’t fixed the underlying moisture problem. Doing it properly the first time almost always costs less than doing the job twice. That’s also why a professional repaint with George.Painting comes with our own 5 Year Painter’s Workmanship Warranty on residential paint projects. You get peace of mind knowing the diagnosis and prep have been done properly.
Sort the Cause Before You Reach for a Brush
If you’ve got peeling or flaking paint on your home in Newcastle or Lake Macquarie and want to know what’s causing it before anyone reaches for a brush, contact the team at George.Painting.